
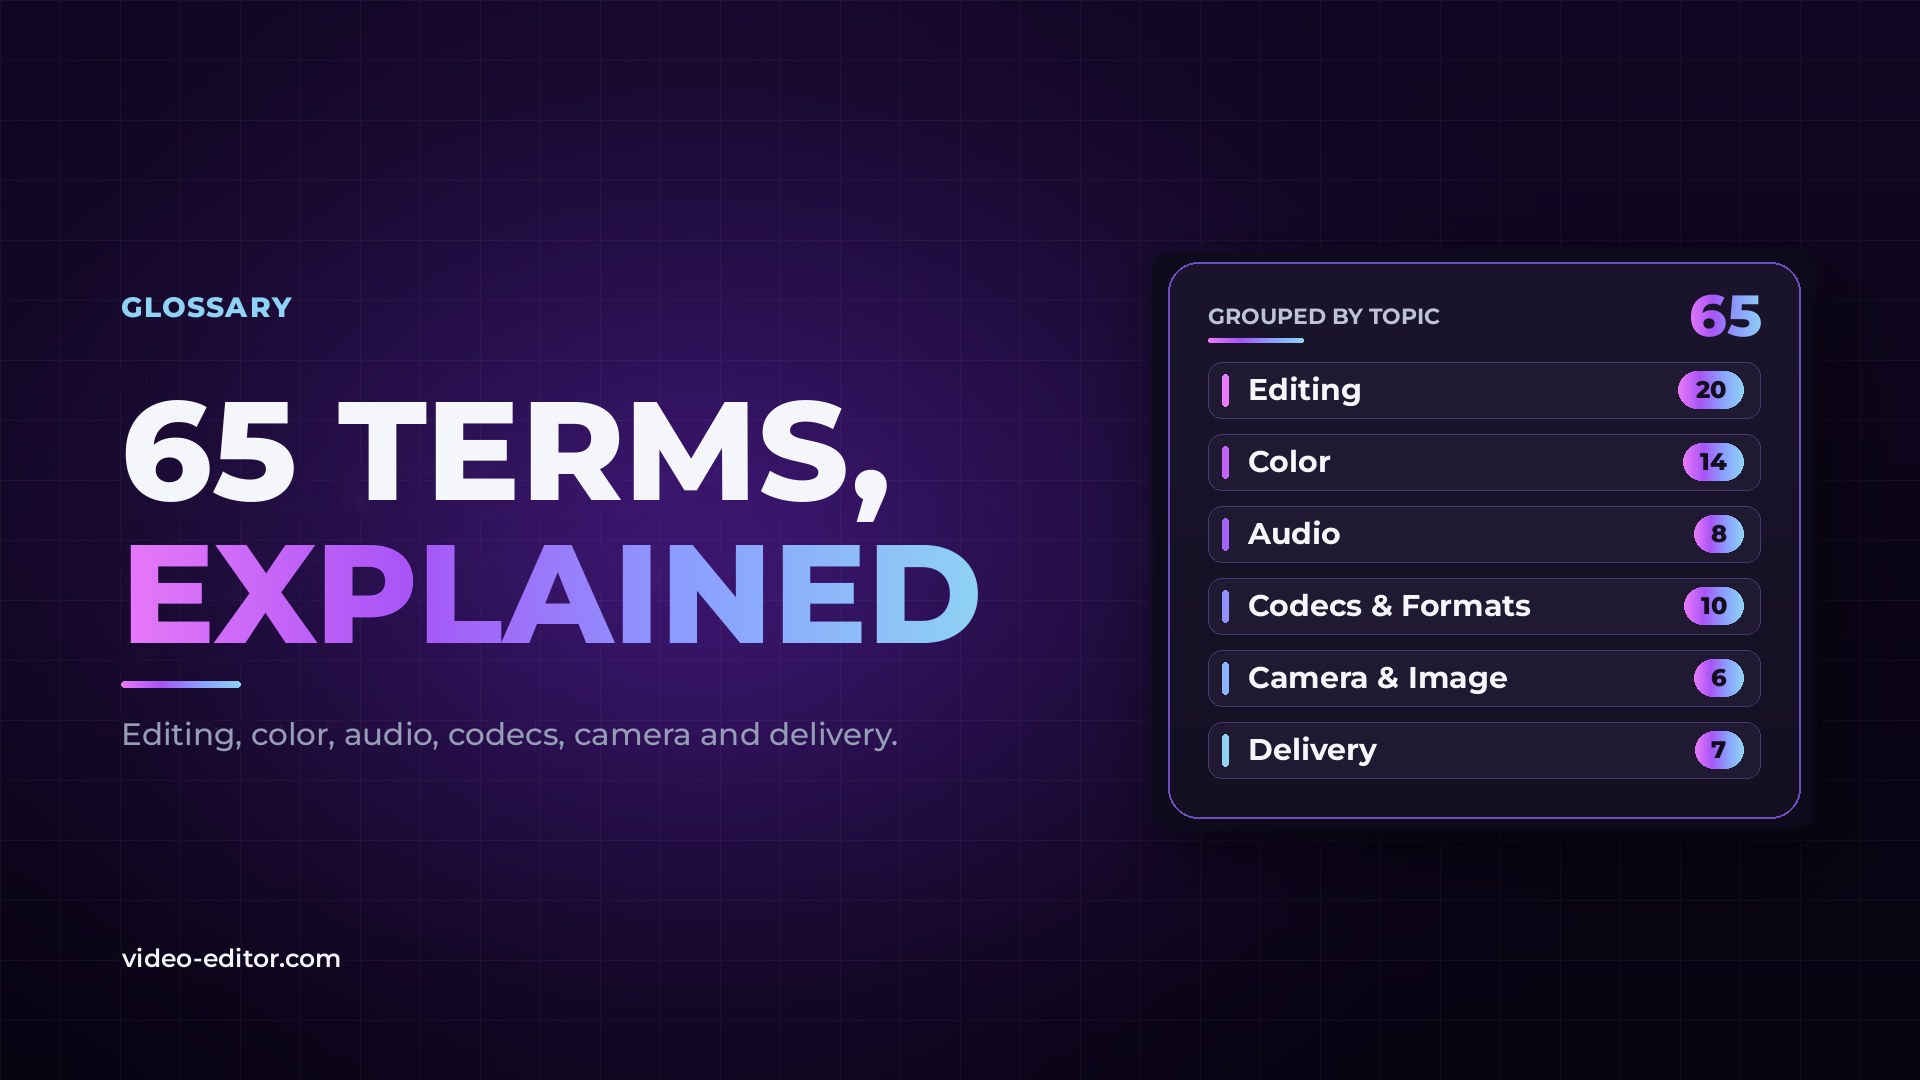
Video editing has its own vocabulary, and much of it is used without explanation. Tutorials, client briefs and software manuals assume you already know what a J-cut, a LUT or a long-GOP codec is. This glossary explains 65 of the terms you will meet most often, in plain language and with the context that matters in practice.
The terms are grouped by topic rather than alphabetically, so related ideas sit next to each other: editing techniques, color, audio, codecs and formats, camera and image, and delivery. Where a term has its own in-depth guide on this blog, the definition links to it.
A method of editing in which any part of a project can be changed at any time without affecting the original files. The software that does it is also called an NLE: Adobe Premiere, DaVinci Resolve, Final Cut Pro and Avid Media Composer are all NLEs. More in our guide what is an NLE.
The workspace where clips are arranged in order, in layered video and audio tracks, from left to right in time. In Adobe Premiere a timeline is called a sequence.
An edit where the audio of the next shot starts before its picture appears. The viewer hears the next scene first, which makes the transition feel smooth and natural. Common in dialogue and interviews. On the timeline, the audio and video of the incoming clip form the shape of a J.
The opposite of a J-cut: the audio of the current shot continues after the picture has already cut to the next one. Often used to show a listener's reaction while the speaker is still talking. J-cuts and L-cuts together are called split edits.
A cut between two shots of the same subject from nearly the same angle, which makes the image appear to jump forward in time. Avoided in traditional film editing, but standard in talking-head, YouTube and short-form content, where it removes pauses and keeps the pace high.
A cut that connects two different shots through a shared shape, movement, color or idea, so the transition feels intentional rather than abrupt.
A short shot that cuts away from the main action to something related, then returns. Cutaways add context and are often used to hide an edit in an interview.
The primary footage that carries the story, usually the interview or the person speaking to camera.
Supporting footage placed over or between the A-roll: details, locations, actions and illustrations of what is being said. B-roll covers edits and keeps the viewer visually engaged.
The first complete version of the edit. Story and structure are in place, but timing, audio, color and graphics are unfinished.
A refined version of the edit in which the timing of every shot has been tightened and the structure is close to final.
The point at which the edit is approved and no more changes are made to the picture. After picture lock, color grading, sound mixing and graphics can be finished without anything shifting underneath them.
A trim that changes the length of a clip and automatically moves everything after it, so no gap is left on the timeline. Ripple delete removes a clip and closes the gap in the same way. Ripple editing is one of the most used actions in any NLE, and our guide to video editing keyboard shortcuts covers how to do it without the mouse.
Moves the edit point between two adjacent clips: one clip gets longer while the other gets shorter by the same amount. The total length of the timeline does not change.
Changes which part of a clip is used without moving the clip or changing its length on the timeline. The in and out points shift together inside the source footage.
Moves a clip left or right between its neighbors. The clip keeps its content and length, while the clips on either side are trimmed to make room.
A precise editing method where you set three of the four possible in and out points, in the source clip and on the timeline, and the NLE calculates the fourth.
Editing footage recorded by several cameras at the same time. All angles are synced and grouped, and the editor switches between them as if directing a live broadcast. It is the standard method for podcasts, interviews and concerts, covered step by step in our guide on how to edit a video podcast.
A group of clips packed into a single clip on the timeline. Adobe Premiere calls it a nested sequence; DaVinci Resolve and Final Cut Pro call it a compound clip. Useful for applying one effect to many clips or keeping complex timelines manageable.
A sequence of short shots edited together to compress time or build a feeling, usually set to music.
Technical adjustment of the image so it looks accurate: correct exposure, white balance and contrast, and consistency between shots.
Creative adjustment of the image to give it a specific look and mood. Correction comes first, grading second. The difference is explained in detail in color grading vs color correction.
A file that converts every color value in an image into another value according to a fixed table. LUTs are used to convert log footage into a standard color space or to apply a creative look. More in what is a LUT.
Footage recorded with a logarithmic gamma curve, such as S-Log3, C-Log or V-Log. It looks flat and gray straight out of the camera, but it preserves more dynamic range and gives far more room for grading.
The standard color space and gamma for HD video and most SDR content. It is the target for the majority of online, corporate and broadcast deliveries.
A wider color space defined for UHD and HDR video. It can represent many more saturated colors than Rec.709.
Video that shows a much larger range between the darkest and brightest parts of the image than standard video. The most common HDR formats are HDR10, Dolby Vision and HLG.
The defined range of colors a system can record or display, together with how those colors are described. Footage, timeline and export must use matching or correctly converted color spaces, or colors will look wrong.
The curve that describes how signal values translate into brightness. A wrong gamma setting is the usual cause of footage that looks washed out or too contrasty after export.
Adjustment that makes white objects appear neutral under any light source, removing unwanted blue or orange casts.
A scope that shows the brightness of the image from left to right. It is the most reliable way to judge exposure, because it does not depend on the screen you are looking at.
A scope that shows hue and saturation of the image on a circular graph. It is used to check skin tones and spot oversaturated colors.
The three basic color wheels in most grading tools. Lift controls the shadows, gamma the midtones and gain the highlights.
The number of brightness levels each color channel can store. 8-bit video has 256 levels per channel, 10-bit has 1,024. Higher bit depth means smoother gradients and more room for grading without banding.
Loudness Units relative to Full Scale, the standard unit for measuring perceived loudness. Platforms and broadcasters set loudness targets in LUFS: streaming platforms normalize to around -14 LUFS, while European broadcast uses -23 LUFS.
Automatically lowering music or background sound whenever someone speaks, so dialogue stays clear without manual keyframing.
A recording of the natural sound of a location with no one speaking. Editors use it to fill gaps in dialogue so cuts do not create sudden, unnatural silence.
How many times per second audio is measured. 48 kHz is the standard for video; 44.1 kHz is the music standard.
Audio that starts in sync with the picture and slowly slides out of sync over time, usually because two devices recorded at slightly different speeds. How to diagnose and fix it is covered in why audio drifts out of sync.
Syncing clips by matching the shape of their audio waveforms instead of timecode. It is how most multicam and dual-system recordings are synced today, explained in how to sync multicam footage automatically.
Separate audio mixes for each element of a soundtrack, typically dialogue, music and effects. Stems let a mix be adjusted or localized later without going back to the full session.
Distortion that happens when an audio signal goes above the maximum level, 0 dBFS in digital audio. Clipped audio cannot be fully repaired, so it is avoided at recording and mixing.
The method used to compress and decompress video. The codec decides file size, image quality and how hard the file is to play back while editing. A full overview is in video compression explained.
The file format that holds video, audio and metadata together, such as MP4, MOV or MXF. The container is not the codec: an MOV file can hold H.264, ProRes or another codec.
The amount of data used for each second of video, usually measured in megabits per second (Mbps). Higher bitrate generally means better quality and larger files.
The most widely supported delivery codec. It produces small files with good quality and plays on almost every device and platform.
The successor to H.264. It reaches similar quality at roughly half the bitrate and supports HDR, but needs more processing power to encode and decode.
A family of Apple codecs designed for editing and finishing. Files are large, but they are easy to play back and hold quality through multiple generations.
Avid's equivalent of ProRes, widely used for editing and finishing, especially on Windows workflows.
An intraframe (All-I) codec compresses every frame on its own, which makes editing smooth. An interframe (Long-GOP) codec stores only the changes between frames, which saves space but makes playback and scrubbing heavier on the computer.
A way of reducing color information to save data, written as 4:4:4, 4:2:2 or 4:2:0. 4:2:2 and above hold up better for keying and heavy grading; 4:2:0 is standard for delivery.
A lightweight copy of a high-resolution file, used during editing so the timeline plays smoothly. At export, the NLE switches back to the original media. The full workflow is in our guide to the proxy workflow.
The number of frames recorded or shown per second. 24 fps gives the classic cinematic look, 25 and 30 fps are common for online and broadcast, and 50 or 60 fps suit fast motion and slow-motion playback. Choosing the right one is covered in what FPS should you use.
The ratio between the width and height of the frame: 16:9 for YouTube and TV, 9:16 for Shorts, Reels and TikTok, 4:5 and 1:1 for feed posts, and wider ratios such as 2.39:1 for cinema.
The number of pixels in the frame, such as 1920 × 1080 (Full HD) or 3840 × 2160 (4K UHD). Higher resolution gives more detail and more room to crop and reframe.
Shutter angle describes how long each frame is exposed relative to the frame rate. The 180-degree rule sets the shutter speed to about double the frame rate, for example 1/50 at 25 fps, which gives natural-looking motion blur.
A distortion caused by sensors that read the image line by line rather than all at once. Fast movement makes vertical lines lean and the image wobble, an effect often called jello.
A time stamp written into every frame in hours, minutes, seconds and frames (HH:MM:SS:FF). When cameras and recorders share the same timecode, their footage can be synced precisely. When to rely on it and when not is explained in timecode vs waveform sync.
Processing effects, transitions and grades into playable frames. Inside an NLE, rendering usually means creating preview files so a heavy timeline plays in real time.
Export is the process of creating the final video file from the timeline. The master file is the highest-quality version of the finished project, kept as the source for every other version. The right settings for each platform are in how to export video for YouTube, Instagram and TikTok.
Rebuilding an edit with the original full-quality media, typically after editing with proxies or when moving a project into a dedicated color or finishing application.
Files that describe an edit so another application can rebuild it. An EDL (Edit Decision List) is a simple text list of cuts; XML and AAF carry much more information, such as multiple tracks, effects and audio levels.
Areas of the frame where titles and important action are guaranteed to be visible. On vertical platforms, safe zones also keep text away from the buttons and captions the app places over the video, as explained in our guide on turning one long video into Shorts, Reels and TikToks.
The complete list of files a project must hand over: masters, platform versions, subtitles, stems, thumbnails and anything else agreed with the client.
Media offline means the NLE can no longer find the original files, usually because they were moved, renamed or the drive was disconnected. Relinking points the project back to the files, and the edit is restored without changes.
In a J-cut, the audio of the next shot starts before its picture. In an L-cut, the audio of the current shot continues over the next picture. Both are split edits used to make transitions feel natural.
The codec compresses the video; the container is the file that holds the compressed video, audio and metadata together. MP4 and MOV are containers; H.264 and ProRes are codecs.
Rendering creates preview files inside the project so the timeline plays smoothly. Exporting creates the final, standalone video file.
It means the edit is approved and the picture will not change anymore, so color, sound and graphics can be finished on a fixed timeline.
Most of the confusion in video editing comes from a small number of terms used everywhere: how edits are made, how color is handled, how audio is measured and how files are compressed and delivered. Knowing these 65 terms is enough to follow any tutorial, brief or software manual without guessing.
Want more practical guides for video editors? Browse the full blog.

 u