
Multicam sync sounds simple. You have footage from multiple cameras, audio from multiple microphones, and you need everything to line up on the timeline before you can start editing. In theory, it's a straightforward problem. In practice, it's one of the most time-consuming parts of any production workflow.
The more cameras and microphones you're working with, the more complex the sync becomes. A two-camera interview is manageable. A full day of wedding coverage with two cameramen, a podcast with three cameras and separate audio recorders for each guest, a corporate conference with multiple speakers on stage — these are a different problem entirely. And the tools that work for the simple scenario often fall apart on the complex one.
This guide covers how Adobe Premiere and DaVinci Resolve handle multicam sync natively, where each one reaches its limits, and what to use when the built-in tools are not enough.
Premiere offers two main approaches to multicam sync. The first is the timeline method — you place all clips on separate tracks, select them, right-click, and use the Synchronize function to align them by audio waveform or timecode. The second is the bin method — you select all clips in the Project panel, right-click, and choose Create Multi-Camera Source Sequence. Premiere analyzes the audio and assembles the sequence automatically.
For small projects with two to four cameras and clean audio, both methods work well. The sync is accurate, the workflow is fast, and you're editing within minutes.
Audio channel routing. When Premiere creates a multicam sequence from a bin, it places every audio track into a separate channel. With a large number of audio tracks, manually reassigning and routing each channel back to the correct position is a time-consuming process — before you've made a single edit. This has been a known issue for years and remains unresolved.
Interrupted recordings. If recording was stopped and restarted across all cameras and microphones during the shoot, Premiere creates multiple separate multicam sequences instead of one continuous chronological timeline. This can work, but it often doesn't — particularly when you need the footage arranged in real-time order, exactly as it was captured on set. For a wedding or a conference that ran all day with multiple recording breaks, this quickly becomes a problem.
One clip per track. The timeline sync method requires each clip to be on its own track. If you have multiple clips on the same track, the Synchronize option simply won't appear — there's nothing to click. Every clip needs its own dedicated track before sync can even begin.
Variable frame rate footage. Most professional cameras record at a constant frame rate, but smartphones — iPhones and Android devices — record in variable frame rate by default. This isn't a creative choice, it's simply how phones handle video compression. If anyone on your shoot used a phone as a backup camera, or a client sends you phone footage to include in the edit, VFR clips can cause sync errors and playback issues inside a multicam sequence. For a deeper look at frame rates and how they affect your workflow, read our complete FPS guide.
Audio synchronize failure. When the audio levels between cameras are significantly different — one recording at -12dB, another at -18dB or below — Premiere cannot find a matching waveform and throws a sync failure error.
Drift on long recordings. Premiere has no drift compensation. On recordings longer than 30 to 40 minutes, sync that looks correct at the start of the timeline gradually falls apart toward the end. For a short interview this rarely matters. For a full-day wedding shoot or a multi-hour conference, it does.
Scalability. Premiere's sync tools work well with a handful of files. When you're dealing with dozens or hundreds of clips across multiple cameras and recorders — a full concert, a corporate event, a day of interviews — the workflow becomes manual, slow, and error-prone regardless of which method you use.
Resolve offers more sync methods than Premiere, all within a single application.
Auto Sync Audio — in the Media Pool, select your video and audio clips, right-click, choose Auto Sync Audio, then Based on Waveform. Resolve analyzes the waveform and links the clips. You can select all clips at once and run this as a batch operation in a single step.
Auto Align Clips — directly on the timeline, select all clips, right-click, Auto Align Clips, Based on Waveform. Resolve aligns the clips by audio waveform without leaving the timeline.
Create New Multicam Clip — select all clips in a bin, right-click, Create New Multicam Clip. Choose your sync method: timecode, audio waveform, or in/out points. Resolve creates a multicam clip you can immediately begin editing.
Manual sync — when automatic tools fail, you can place a marker on a visual cue like a clapperboard or a hand clap and manually align clips from there.
Resolve 21 also adds AI Multicam SmartSwitch, which automatically switches between camera angles based on who is speaking — using both audio analysis and lip movement detection. For podcast and interview productions, this significantly reduces the time spent on camera switching in the editing phase.
Waveform sync fails on quiet or noisy audio. Resolve analyzes audio waveforms to find matching points between clips. If audio was recorded at too low a level, or if there is too much background noise in the recording, Resolve cannot find a match and the sync fails. This is one of the most frequently reported issues on the Blackmagic forum and Creative COW — editors receive an error with no clear explanation of why the sync did not work.
The result is a messy timeline. When Resolve completes a batch sync and places all clips on the timeline, each file gets its own separate track. On a project with 20, 30, or more files, the result is a technically synchronized but visually chaotic timeline. Before the editor can begin working, they need to manually reorganize and clean up the tracks — additional work that comes after the sync, not before it.
Individual pairs, not a unified timeline. Auto Sync Audio in Resolve syncs each video with its corresponding audio file individually. This works well for dual system sound on a single camera. But on a complex project with multiple cameras and multiple audio recorders, the result is not one clean chronological timeline — it's a collection of individually synced pairs that the editor still needs to arrange into a coherent sequence.
Frame rate mismatch. Differences in frame rate between cameras — a common problem when mixing professional cameras with phones or action cameras — can create playback issues and sync errors inside a multicam clip.
Multicam clip limitations on interrupted recordings. If recording was stopped and restarted during the day, Resolve may create multiple separate multicam clips instead of one continuous timeline. For a wedding, a conference, or a full-day podcast where all cameras and microphones were restarted between segments, this means the editor needs to manually join and arrange multiple separate sequences.
Both Premiere and DaVinci Resolve handle multicam sync well in controlled conditions — a small number of cameras, clean audio, constant frame rates, and uninterrupted recordings. That covers a lot of projects. But it doesn't cover all of them.
The scenarios where built-in sync tools consistently struggle are the same scenarios that working editors encounter most often: a full day of wedding coverage where recording was stopped and restarted dozens of times, a podcast with several separate audio tracks that all need to end up on the right channels, a corporate conference with multiple camera angles and a dedicated audio recorder running continuously for hours. These are not edge cases. They are standard productions.
In both cases, the editor ends up doing manual work that the sync tool was supposed to eliminate. The problem isn't that these tools are bad — it's that they were designed for a specific scale of project, and beyond that scale, they reach their limits.
This is the gap that KlikSync was built to fill.
For years, PluralEyes was the industry standard for automatic multicam sync. Editors who worked on weddings, concerts, corporate events, and podcast productions relied on it to handle the kind of large, complex projects that Premiere and Resolve struggle with. When it was discontinued, that gap was left open.
KlikSync was built to fill it.
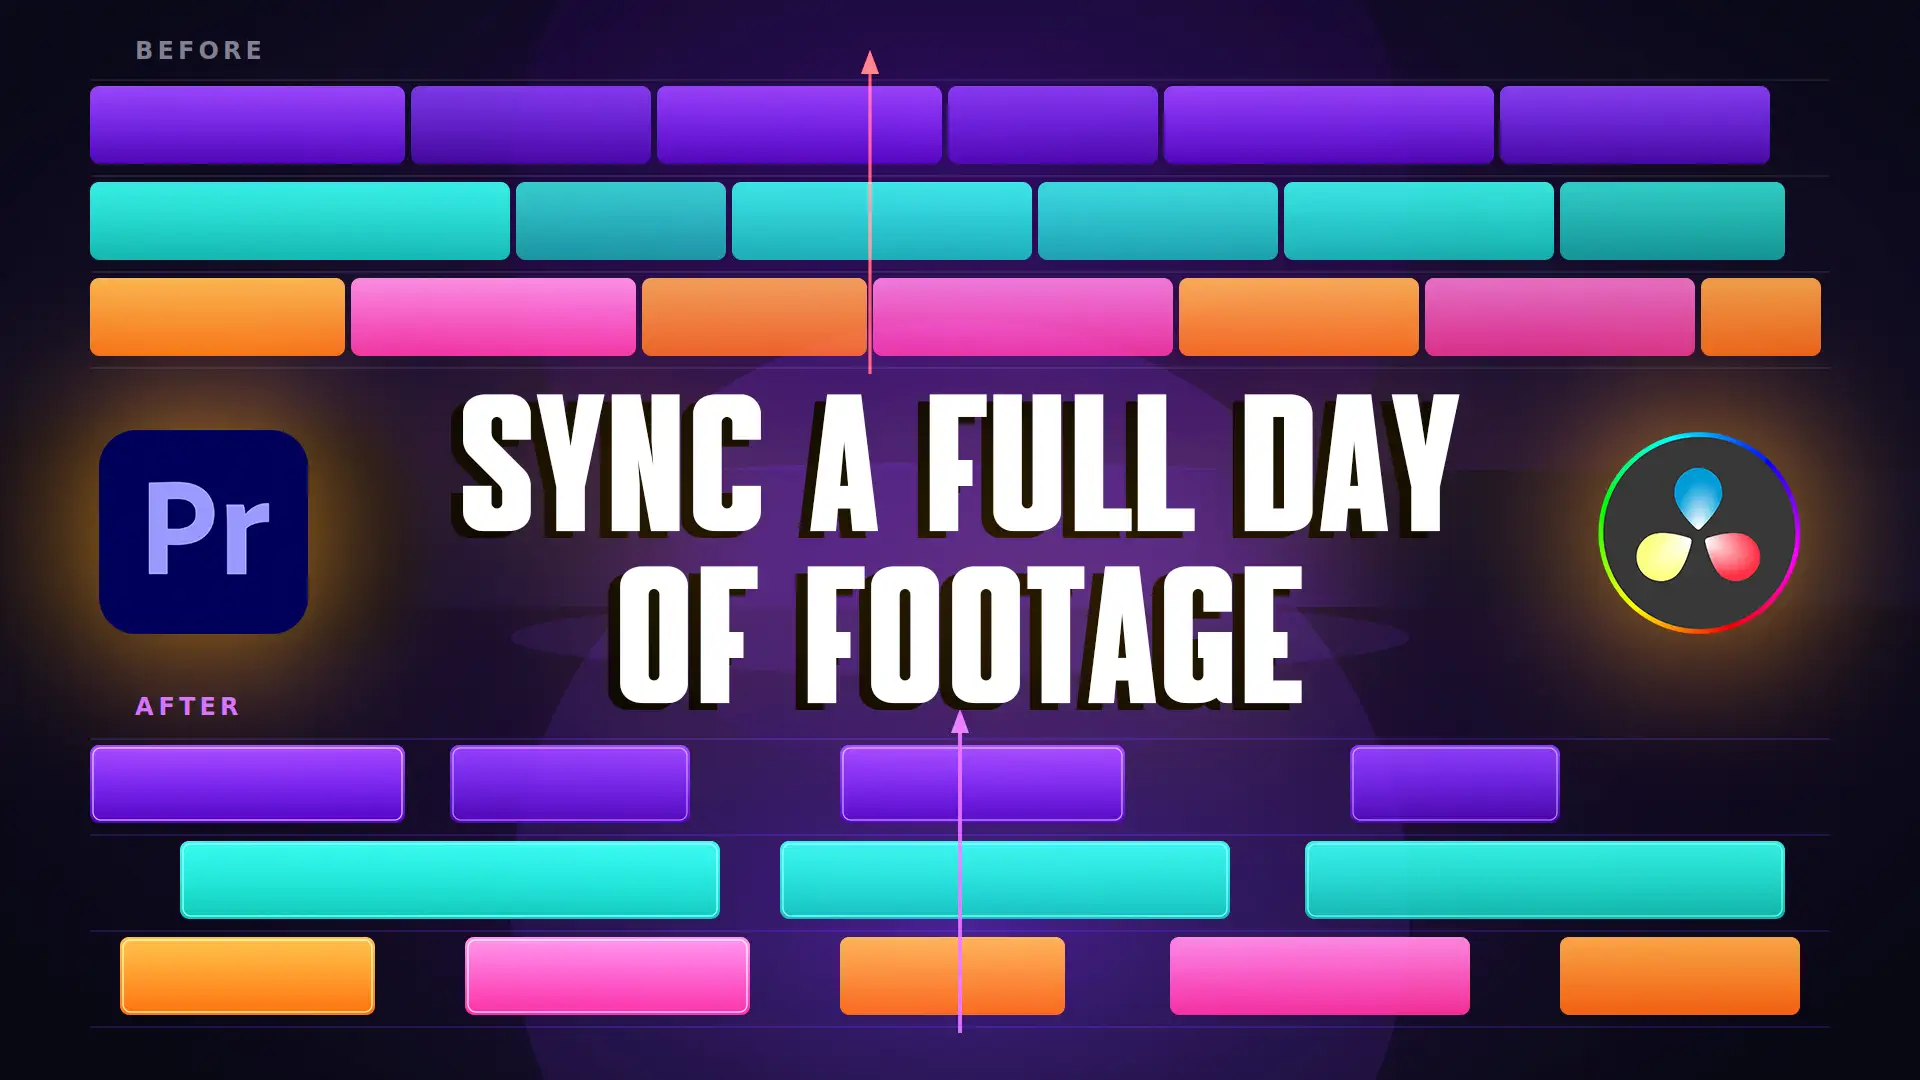
Built by a working video editor, for working video editors — KlikSync automatically synchronizes every camera and every microphone from your shoot, regardless of how many files you're working with. No timecode required. No manual track cleanup. Drop your files in, click sync, and your timeline is ready.
It works through a simple XML workflow. Export an XML from Premiere or DaVinci Resolve, run it through KlikSync, and import the synchronized XML back into your editor. The sync happens outside the NLE, which means it isn't limited by the constraints of either program's built-in tools.
KlikSync runs your footage through multiple layers of audio analysis before placing a single clip on the timeline. Each sync decision is verified before it's applied — so the result isn't a best guess, it's a confirmed position. The more files you throw at it, the more reference points it has to work with. It works the way an experienced editor would — because it was built by one.
KlikSync works with both Adobe Premiere and DaVinci Resolve. See it in action in the video below.
Watch KlikSync sync a full day of podcast footage — 28 files, multiple cameras and microphones — in a single click.
Click here to learn more about KlikSync.
Q: How do I sync audio and video from multiple cameras automatically?
A: The fastest way is to use a dedicated sync tool. Export an XML from Premiere or DaVinci Resolve, run it through KlikSync, and import the synchronized result back into your editor. KlikSync analyzes the audio across all files simultaneously and positions every clip on the timeline automatically — no timecode, no manual work.
Q: Does KlikSync require timecode to sync footage?
A: No. KlikSync syncs entirely by audio waveform analysis — no timecode, no clapperboard, no special equipment required on set.
Q: How does KlikSync sync footage?
A: KlikSync runs your footage through multiple layers of audio analysis before placing a single clip on the timeline. Each sync decision is verified before it's applied — so the result isn't a best guess, it's a confirmed position. The more files you throw at it, the more reference points it has to work with. It works the way an experienced editor would — because it was built by one.
Q: What happens if KlikSync can't find a sync point between clips?
A: Any files that cannot be synchronized are placed at the end of the timeline, separate from the synced material — so you always know exactly which clips need attention.
Q: Is KlikSync a one-time purchase or a subscription?
A: KlikSync is a one-time purchase. No subscription, no monthly fees.
Q: What is the difference between syncing by timecode and syncing by audio waveform?
A: Timecode sync requires all devices on set to be electronically linked to the same clock — it's fast and precise but requires planning before the shoot. Audio waveform sync analyzes the sound recorded on each device and matches common peaks and patterns — no preparation required, but it depends on the quality and level of the recorded audio.


