
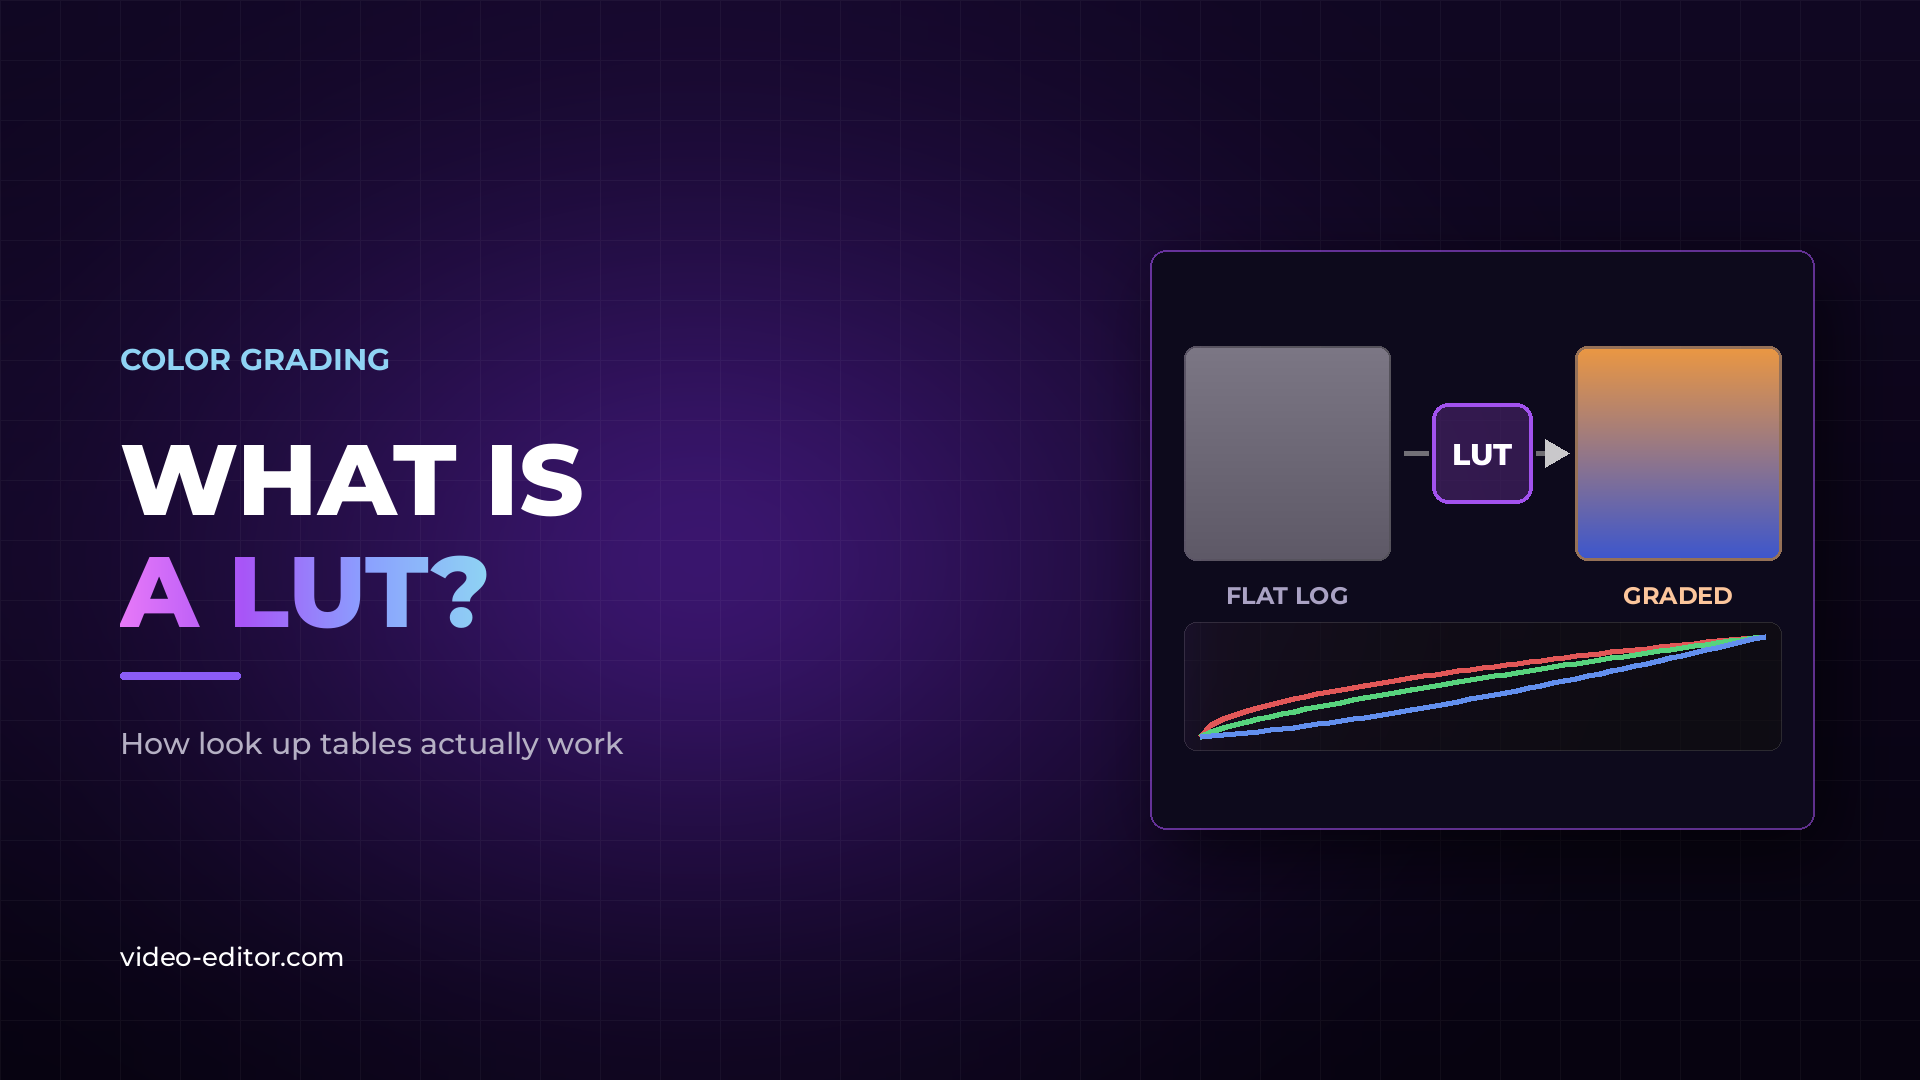
A LUT is a lookup table — a file that tells your software to replace one colour value with another. Feed it a red, it returns a different red. Do that across every value in the image and you have a new look.
That is the whole idea. Everything else is about which LUT, and where in the chain you put it.
There are technical LUTs and creative LUTs, and mixing them up is the single most common mistake in colour grading.
A technical LUT converts footage from one colour space to another. It takes flat log footage and maps it to Rec.709 so it looks normal on a standard monitor. It is not a look — it is a translation.
A creative LUT applies a style. Warmer highlights, crushed blacks, a colour cast in the shadows. It assumes the image is already in the right colour space before it arrives.
Most files sold as cinematic LUTs are creative. Most problems people have with them come from applying them to footage that still needs the technical conversion first.
If a LUT makes your footage look broken rather than graded, the footage is almost certainly still in log.
Log profiles record a flat, washed-out image on purpose, to hold more detail in the highlights and shadows. A creative LUT applied straight onto log has nothing to work with — it pushes an already flat image further into mud.
The fix is order. Convert log to Rec.709 first, either with the manufacturer's conversion LUT or a colour space transform, then apply the creative look on top.
The second cause is a LUT built for a different camera. A film LUT designed around one manufacturer's log curve will not land the same way on another's. Same look, different starting point, different result. If you are unsure what your camera actually recorded, our guide to codecs and bitrate covers how to read what is inside your files.
A LUT is one step in a chain, not the whole grade. The order that works is always the same.
| Step | What happens |
|---|---|
| 1. Correct | Exposure and white balance. Get the image right before you get it pretty. |
| 2. Convert | Log to Rec.709, if the footage was shot in a log profile. |
| 3. Look | The creative LUT goes here. |
| 4. Adjust | Contrast, saturation, secondaries, vignette — fixing whatever the LUT overshot. |
Grading exclusively inside the LUT is how shots end up inconsistent. The LUT is a starting point; the work happens around it.
Teal and orange is the most recognisable colour grade of the last two decades, and it exists for a simple reason: skin tones sit in the orange range, and teal is roughly opposite on the colour wheel.
Push the shadows towards teal and leave the skin where it is, and faces separate from the background without touching them directly. It works because of the contrast between complementary colours, not because of the colours themselves.
It is also the most overused look in circulation. Applied at full strength on everything, it flattens the difference between scenes that should feel different.
A 1D LUT adjusts each colour channel independently. It can change contrast and balance, but it cannot change the relationship between channels — it cannot turn a specific green into a specific blue.
A 3D LUT maps points across the full colour cube, so it can change hue as well as level. Every creative look you would actually want is a 3D LUT.
The .cube file you download is a text file listing those mapped values on a grid. Larger grids are more precise and slower to process. Most files ship at 33 points, which is enough for almost everything.
A LUT is a fixed colour mapping. A preset is a saved set of tool settings inside a specific program.
The practical difference is control. A LUT applies as one block and can only be dialled up or down. A preset gives you every slider it touched, so you can change any part of it.
LUTs travel between programs. Presets do not, which matters if you move between applications — our comparison of DaVinci Resolve and Adobe Premiere covers where each one handles colour differently.
Applying at full strength. Most creative LUTs are built stronger than any shot needs. Dropping the intensity to somewhere between 40 and 70 percent is normal, not a compromise.
Grading before conversion. Covered above, and worth repeating because it accounts for most of the frustration people have with LUTs.
Judging on an uncalibrated screen. If the monitor is wrong, every decision made on it is wrong. This is also why grading on a laptop in a bright room produces work that falls apart everywhere else.
Using one LUT across a multi-camera project. Each camera needs its own starting point before a shared look can sit on top. If you are working with mixed sources, our guide to syncing multicam footage covers getting those sources lined up in the first place.
The .cube format is supported broadly across editing and grading software. Some programs also use their own formats, so a file may need converting before it loads.
Yes, but the result is unpredictable. A LUT built for log footage assumes a flat starting image, and standard footage is already contrasty before the LUT arrives.
Not automatically. What matters is whether the LUT was built for the colour space you are feeding it, and whether it comes with instructions telling you what it expects.
No. Correct exposure first. A LUT applied to an underexposed shot produces a graded underexposed shot.
It is the size of the sampling grid inside the file. A 33 point LUT samples 33 values per axis across the colour cube. Higher numbers are more precise and slower to process.
Want more practical guides for working video editors? Browse the full blog.
 u
u u
u